
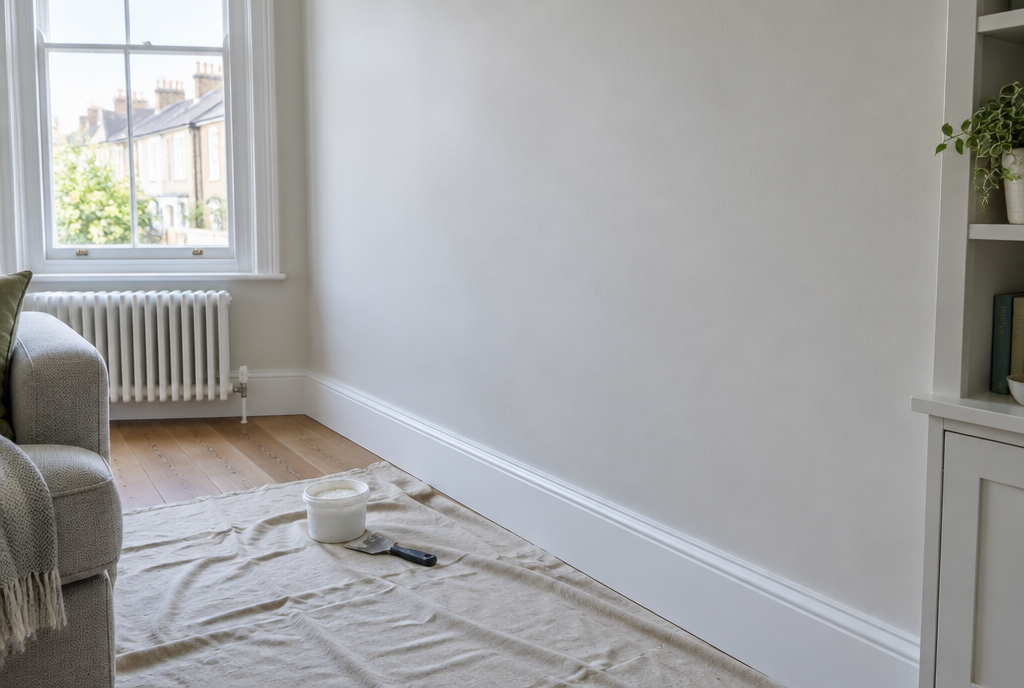
Whether it’s an old wall plug that’s pulled out, a door handle that’s punched straight through, or a dent from moving furniture, knowing how to fill holes in plasterboard walls is one of the most useful DIY skills you can have. Most repairs need nothing more than filler, a filling knife and a bit of patience, and even bigger holes can be fixed in an afternoon with a self-adhesive patch. This guide walks you through small, medium and large holes so you get a smooth, invisible finish ready for paint.
This guide contains affiliate links. If you buy through them, we may earn a small commission at no extra cost to you. As an Amazon Associate I earn from qualifying purchases. Read our affiliate disclosure.
Why fix holes in plasterboard properly?
Plasterboard (also called drywall or gyproc) is a sheet of gypsum sandwiched between paper liners. It’s quick to install but soft, so it dents and breaks more easily than solid plaster. Simply smearing filler into a big hole rarely works: the filler sinks, cracks or falls straight into the cavity. Picking the right method for the size of the hole saves you redoing the job later.
As a rough guide:
- Small holes (screw holes, nail holes, wall plug holes up to about 10mm): fill directly with filler.
- Medium holes (roughly up to the size of your palm): use a self-adhesive metal or mesh repair patch, then fill over it.
- Large holes (bigger than a patch can cover): cut out the damaged section and fit a new piece of plasterboard, supported by timber battens behind.
What you’ll need
- Ready-mixed or powder filler suitable for interior walls (a lightweight or fast-setting filler is handy for deeper repairs)
- Self-adhesive plasterboard repair patch (for medium holes)
- Flexible filling knives in two or three widths
- Utility knife (Stanley-type knife)
- Fine sandpaper (around 120–180 grit) or a sanding block
- Dust sheet, damp cloth and safety glasses
- Cable and pipe detector (strongly recommended before cutting)
- For large holes: plasterboard offcut of the same thickness, a plasterboard saw, timber battens and drywall screws
- Mist coat or primer and your finishing paint
Step 1: Check for cables and pipes
Before you cut, drill or screw anything into a wall, run a cable and pipe detector over the area. Electrical cables in UK homes often run straight up or down from sockets and switches, or horizontally across from them, and pipes can be hidden in stud walls too. If the detector finds something near the hole, stick to filling and patching rather than cutting, and never screw into that area.
If you can see a damaged cable inside the hole, stop and switch off the power at the consumer unit. Don’t touch it: call a qualified electrician.
Step 2: Prepare the hole
Lay a dust sheet down and put your safety glasses on. Use a utility knife to trim away any torn paper, loose gypsum and crumbly edges so you’re left with a clean, firm hole. For dents, lightly sand off any raised edges. Wipe away the dust with a barely damp cloth and let the surface dry. Filler sticks far better to a clean, sound edge than to loose fragments.
Step 3: Fill small holes directly
For screw and wall plug holes, pull out any old plugs first (gently tap them in slightly with a screwdriver if they won’t come out, so they sit below the surface). Load a little filler on your knife and press it firmly into the hole, then drag the knife across at a shallow angle to scrape off the excess.
Leave it slightly proud of the wall, because most fillers shrink a little as they dry. Deeper holes may need a second thin layer once the first has set rather than one thick blob. Check the drying time on the tub, as it varies a lot between products.
Step 4: Patch medium-sized holes
Holes too big to bridge with filler alone need a backing. Self-adhesive repair patches have a stiff metal or mesh centre and a sticky mesh border. Choose one where the solid centre is bigger than the hole all the way round.
Peel off the backing and press the patch flat over the hole, smoothing the mesh border down firmly so there are no bubbles or lifted corners.

Now spread filler over the whole patch, pushing it into the mesh. Gyproc’s own patch instructions recommend feathering the filler at least 50mm beyond the edge of the patch and letting it set before scraping off any ridges. The aim is a thin, wide layer rather than a thick mound.

Step 5: Repair large holes with a new piece of plasterboard
For holes too big for a patch, it’s usually easiest to replace the damaged section:
- Mark a neat square or rectangle around the damage with a pencil and spirit level.
- After checking again for cables and pipes, cut along the lines with a plasterboard saw, keeping the cuts shallow and careful.
- Cut two timber battens a little longer than the opening is tall. Slide each one into the cavity behind the edges of the hole and fix it with drywall screws through the existing plasterboard, so half of each batten is exposed behind the opening.
- Cut an offcut of plasterboard of the same thickness to fit the opening, and screw it to the battens. Sink the screw heads just below the surface without tearing the paper.
- Cover the joints with self-adhesive scrim (jointing) tape, then fill over the tape and screw heads in thin, wide coats.
If the hole is next to a stud (the vertical timber or metal frame), you can screw the new piece directly to the stud on that side.
Step 6: Apply a second coat
Once the first coat has set, scrape off any lumps with your knife. Then apply a second, thin coat, feathering it out wider than the first. On patches and large repairs, two or three thin coats give a much flatter finish than one heavy one. Allow each coat to dry as the manufacturer recommends.
Step 7: Sand smooth
When the filler is completely dry, sand it lightly with fine sandpaper on a block until it’s flush with the wall. Run your fingertips over the area: you shouldn’t be able to feel an edge. Shining a torch across the wall at a low angle is a great way to spot any dips or ridges. Be gentle, as it’s easy to scuff the paper surface of the plasterboard around the repair.
Step 8: Prime and paint
Wipe off the dust, then seal the repair before painting. Filler is more absorbent than the surrounding wall, so if you paint straight over it you may get a dull patch, known as flashing. A coat of primer or a mist coat (watered-down emulsion, following the paint maker’s guidance) over the repaired area solves this. Then paint the whole wall, or at least to the nearest corner, for an even finish.
Common mistakes and troubleshooting
- Filler has sunk or cracked: it was applied too thickly. Sand back and apply another thin coat.
- You can still see the outline of the patch: feather the filler out wider, so the build-up is spread over a larger area.
- Patch is lifting at the corners: the wall was dusty. Remove it, clean the area and use a fresh patch.
- Fuzzy paper surface after sanding: you’ve sanded through the paper liner. Seal it with a little primer, let it dry, then apply a skim of filler and sand lightly.
- Repair shows through the paint: the filler wasn’t primed or sealed. Spot-prime the repair and repaint.
- Old wall plugs keep popping out: push them below the surface before filling, or remove them completely.
When to call a professional
Most holes are well within DIY reach, but call in a plasterer if the damage covers a large area, the wall is badly cracked, or you’re dealing with a ceiling, which is heavy and awkward to work on overhead. Self-adhesive patches aren’t suitable for fire-rated walls (for example between a house and an integral garage), so get those repaired properly by a professional. If a hole reveals damp, mould or water damage, find and fix the source first, and if you find damaged wiring, always call a qualified electrician.
Related guides: How to Paint a Room Without Streaks · How to Re-Grout Bathroom Tiles
Our picks for this job
Here’s the kit that makes filling holes in plasterboard quick and tidy.

Plasterboard repair patches
Bridges medium-sized holes so filler has something solid to grip.

Ready-mixed interior filler
No mixing needed, ideal for screw holes, dents and finishing coats.

Filling knife set
A narrow and a wide knife make filling and feathering much easier.
Buttons go to Amazon UK. If you buy, we may earn a small commission at no extra cost to you.
Leave a Reply