
Old grout can make even a clean bathroom look grubby. Worse, cracked or crumbling grout lets water get behind the tiles, which can lead to loose tiles and mould. Re-grouting takes a bit of patience, but it’s a straightforward job that can make tiles look almost new.
This guide contains affiliate links. If you buy through them, we may earn a small commission at no extra cost to you. As an Amazon Associate I earn from qualifying purchases. Read our affiliate disclosure.
Re-grout or just clean?
If your grout is solid but discoloured, try a good clean with a grout cleaner and a stiff brush first, or use a grout pen to restore the colour. Re-grout if the grout is cracked, crumbling, missing in places, or permanently stained with mould that won’t shift.
What you’ll need
- A grout rake or grout removal tool (a multi-tool with a grout blade is faster for big areas)
- Waterproof grout suitable for bathrooms (ready-mixed or powder)
- A rubber grout float or spreader
- A grout finishing tool, or the rounded end of a pencil
- A bucket of clean water and a large sponge
- A vacuum with a brush attachment
- Safety glasses, a dust mask and gloves
Step 1: Remove the old grout
Put on your safety glasses and dust mask, as old grout throws up a lot of fine dust. Run the grout rake along each joint, pulling it towards you in firm, steady strokes. Aim to remove at least 2 to 3 mm depth, or about two-thirds of the joint, so the new grout has something to grip.

Work carefully near tile edges, especially with a power tool, because it’s easy to chip the glaze. Go slowly and keep the blade centred in the joint.
Step 2: Clean out the joints
Vacuum out all the dust and loose bits, then wipe the tiles and joints with a damp sponge. If there’s mould in the joints, treat it with a mould remover, rinse, and let everything dry completely. Grout applied over damp or dusty joints won’t bond properly.
Step 3: Mix the grout
If you’re using powder grout, mix it with water to the consistency the packet recommends, usually something like smooth peanut butter. Only mix as much as you can use in about 20 to 30 minutes, because it starts to stiffen. Ready-mixed grout can be used straight from the tub.
Step 4: Apply the grout

- Work in small areas of about a square metre at a time.
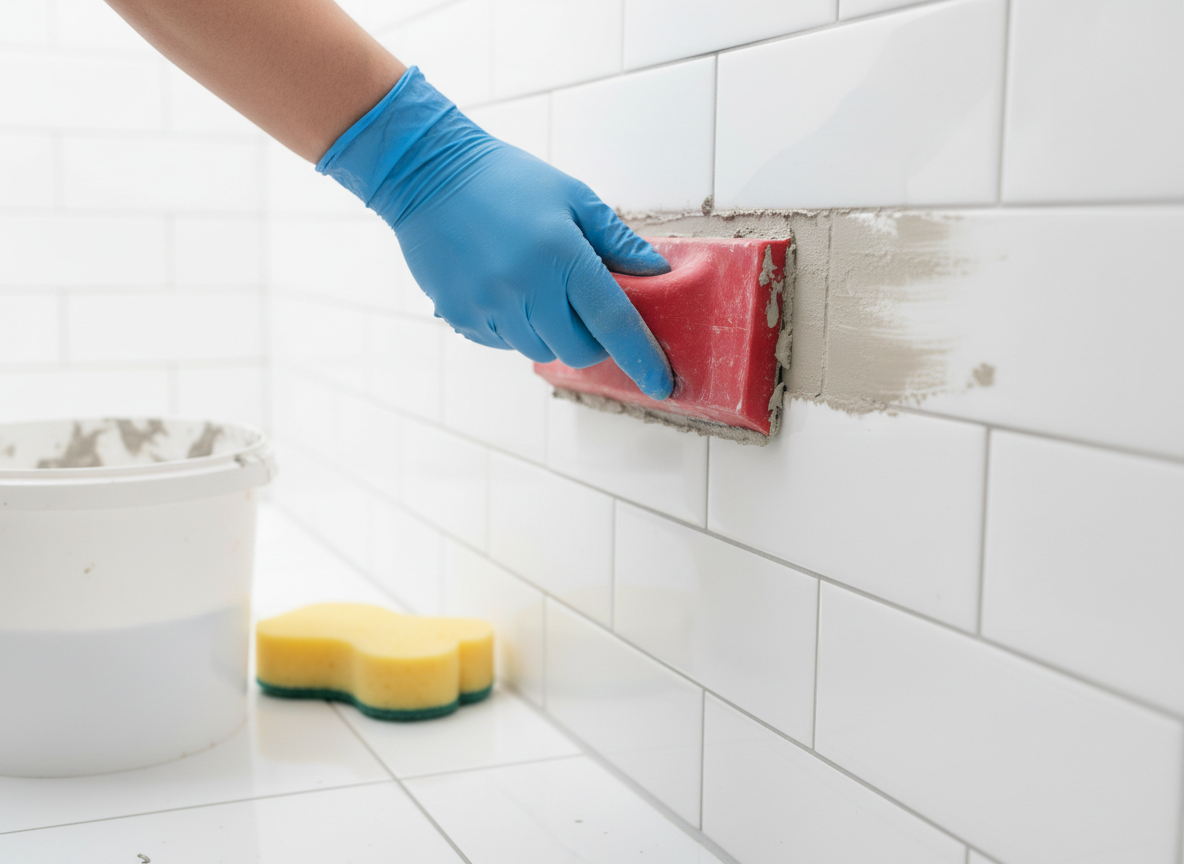
- Scoop some grout onto the float and press it diagonally across the joints, holding the float at about a 45-degree angle. Pushing diagonally stops the edge of the float dragging grout back out of the joints.
- Go over the area in several directions to make sure every joint is completely packed with no air gaps.
- Scrape off as much excess from the tile faces as you can with the edge of the float.
Step 5: Shape the joints
Once the grout has firmed up slightly (usually after 10 to 15 minutes, but check the packet), run a grout finishing tool along each joint to give a smooth, slightly concave finish. This looks neater and helps water run off.
Step 6: Clean off the haze
Wring out a sponge so it’s just damp and wipe the tiles diagonally to remove the leftover grout film. Rinse the sponge often in clean water. Don’t use too much water or press too hard, or you’ll pull grout out of the joints. Once it’s dry, a light chalky haze may appear; buff this off with a dry cloth.
Step 7: Let it cure
Keep the area dry for as long as the grout manufacturer recommends before using the shower, often 24 hours or more. Once it’s fully cured, you can apply a grout sealer to help it resist stains and water.
Don’t forget the sealant
Never grout the joint where the tiles meet the bath, shower tray or worktop. These joints move slightly and grout will crack. Use a flexible bathroom silicone sealant there instead. If your old silicone is mouldy or peeling, now is a great time to cut it out and replace it too.
Tips for a professional finish
- Choose a grout with mould-resistant additives for bathrooms and showers.
- Grey or darker grout hides staining better than bright white in a busy family bathroom.
- Improve ventilation with an extractor fan or by opening a window after showers. Damp air is the main cause of grout mould coming back.
Related guides: How to fix a dripping tap · How to paint a room without streaks
Our picks for this job
The three things that make re-grouting easier.

Grout rake
Removes old grout without chipping the tiles.

Anti-mould grout
Choose a waterproof grout made for bathrooms.

Silicone sealant
For the bath and shower tray edges, never grout.
Buttons go to Amazon UK. If you buy, we may earn a small commission at no extra cost to you.
Leave a Reply